
Design a Book Cover in Affinity Publisher Part 1
- Affinity Inspiration
- Jul 23, 2019
- 7 min read
Create Your Own Book Cover in Affinity Publisher
A Single eBook Cover, or the Complete Paperback Cover.
In addition to the standard eBook cover as used on Kindle and others, you can design your Paperback, and Hardcover covers as well. Adding the Spine, back cover, and Fly Leaf front and back are just a few simple steps extra.

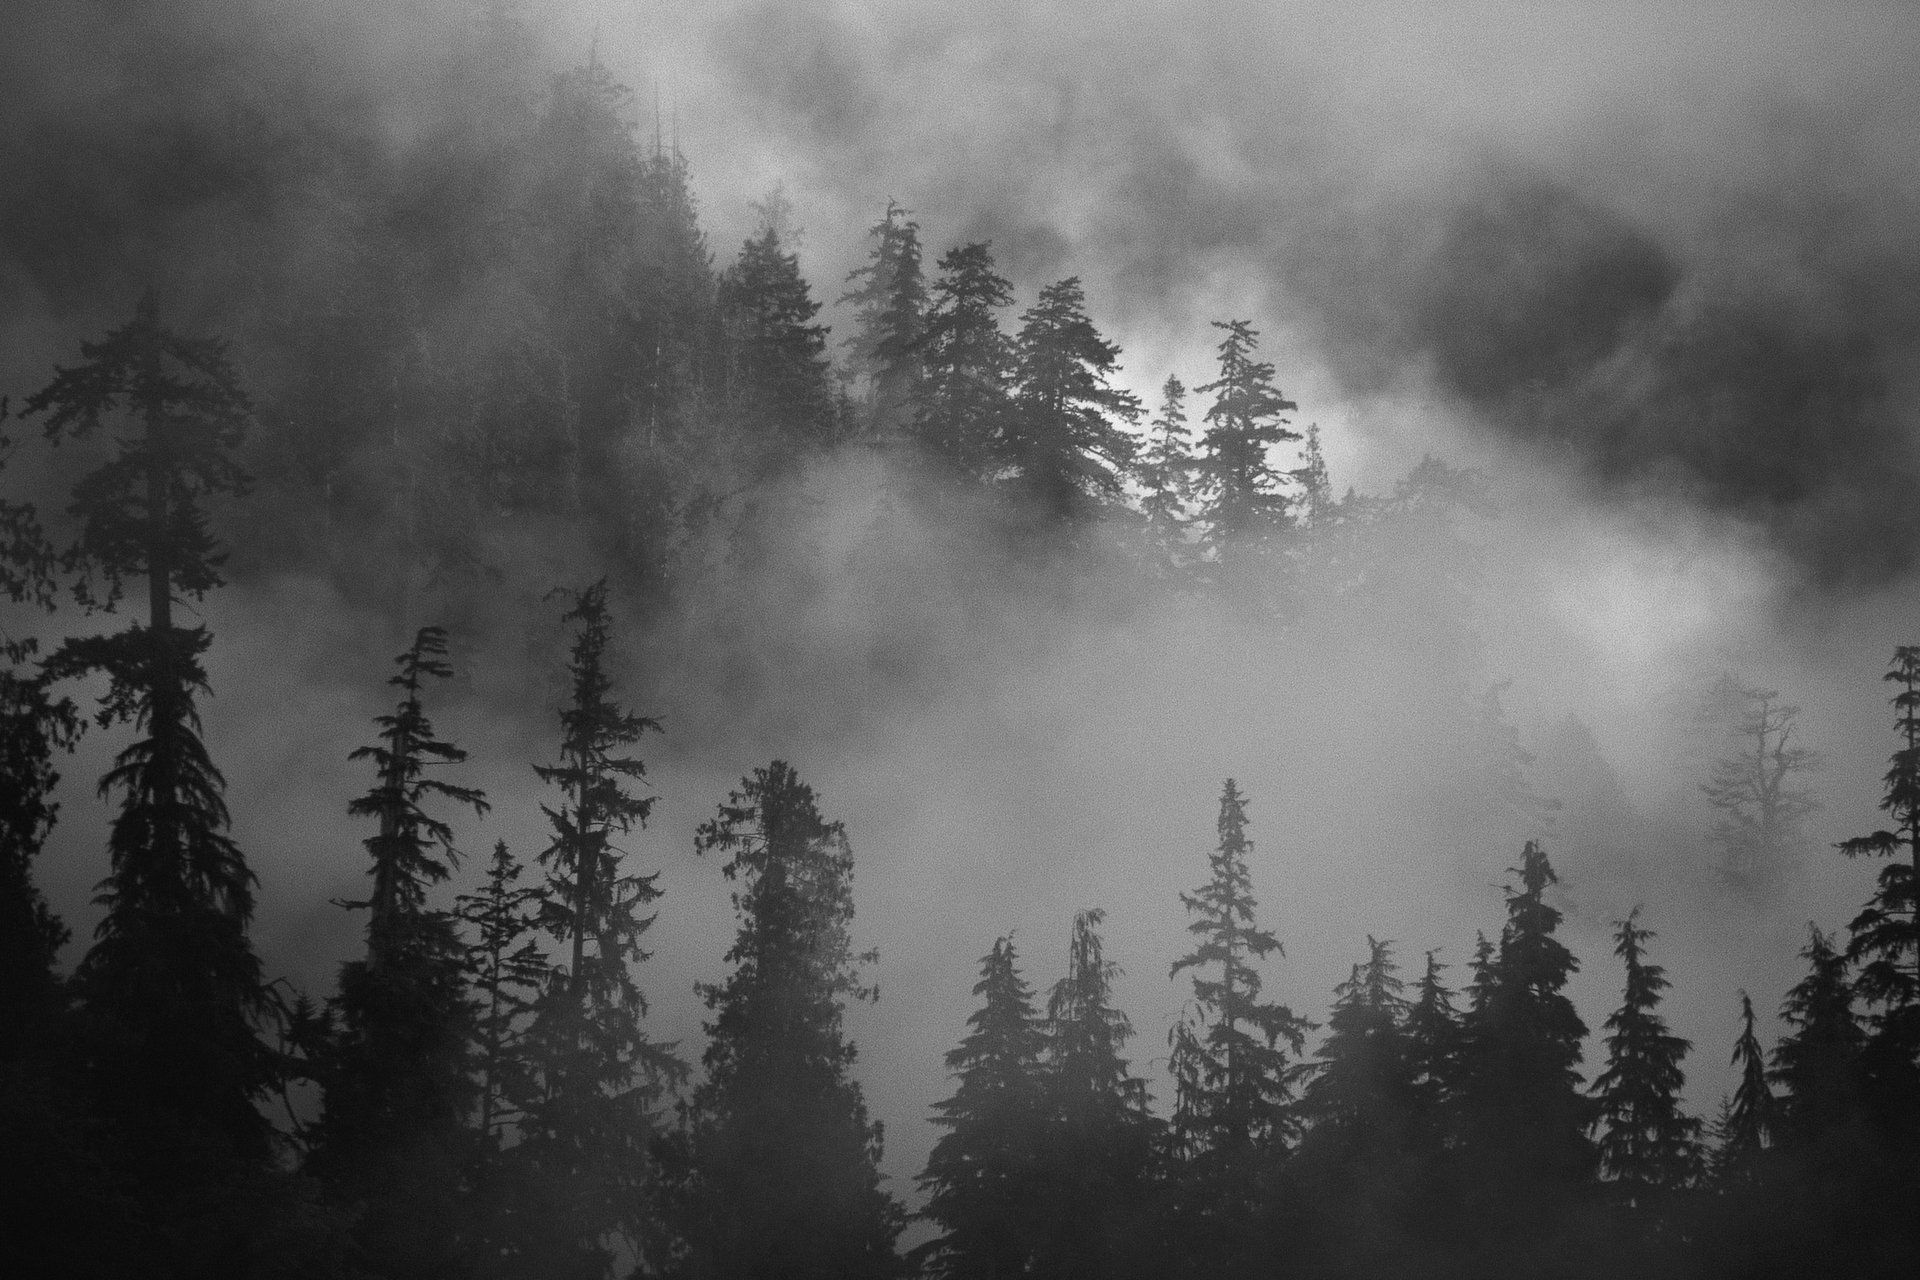
The images used in this process may differ to the above.
Let’s Get Started…
Set Up the Layout of Your Cover in Publisher
Begin by creating a cover for a paperback (softcover) book, with B‑format dimensions (5.06 x 7.81 inches [130 x 198 mm]) and a 16 mm spine. But I’ll add that tutorial later.
Note: You can adjust the width of the spine to suit your own purposes by using the Spread Properties (Page Tool) to adjust the width of the document later.
Step 1
Open Publisher and select New Document from the Welcome window, or go to File > New > Document.
DO NOT press OK yet to create the page.
Staying in the New Document window set the Type to Print and No. of Pages to 1, and uncheck Facing Pages. From the Page Preset drop-down menu select Custom…
Set the Width to 130 mm and Height to 198 mm.
If this is your first go at this, go to the little paper-stack icon to the right of Page Preset, and select Create Preset. Type ‘B-Format Paperback’ into the Name text box and click OK. Your setup will look like this. When you are finished setting up, your preset will be saved, and you can open a new document and apply the preset easily. This is the industry standard print size for a paperback. ‘B-Format Paperback’. A good idea is to leave the preset creation until you complete all these steps, in Step 2 below, then save the preset just before you press OK.
DO NOT press OK yet to create the page.
Step 2
Still staying in the New Document window, check the tabs to set the Margins to 8 mm on all sides, and set the Bleed to 3 mm on all sides. These are very much industry standards. Now Click OK.
This page is the correct size for the front of your cover only. If you are only making a front cover for an eBook for example, then that is all you need for the page setup. Though we will want to submit a whole cover to the printer, complete with spine and back cover, it’s a really good idea to design your front cover only at first. You can faintly see the Bleed, Margins, and Centre Guide in the image below.
We’ll use the Spread Properties Tool later in the tutorial to include the spine and back cover on the document. For now, let’s work on the front cover alone as it is.
From the left-hand Ruler drag a vertical guide out to 65 mm. This marks the center point of the front cover. You will need this when placing elements on the page later.
Step 2. Create Your Cover Backdrop
Adding the background art
Add a new Layer (Layers -> New Layer or Lower Right -> Add Layer) and click on the Layer 1 tag to Rename the layer as Image and click OK.
Select the Rectangle Frame Tool (F) and position your mouse in the main page area, drag to create an image frame that extends across the page, meeting the edge of the Bleed at the Left, Top, Bottom, and Right sides, as shown below.
Go to File > Place and select the image you want to use for the backdrop of your cover. Choose something that would work well as a wallpaper across the back of the page, with no significant features or people in it preferably, and also that is compatible with your genre at least, or your story.

Select the image you want, put the cursor on a point in the frame. Click it.
Make sure the Photo in its Frame is selected as shown by the blue dots and frame around it. Arrange the photo in the frame using the Properties icon in the top control panel.
The top option Scale To Max Fit is the one that will suit your image at this stage. Your image may require a different option. Experiment.
With the Picture Frame selected, select the Transparency Tool (wine glass) Set the Fill to White, Type as Radial and set the MidPoint to 50 %. It WILL fill the rectangle with White. Don’t panic. Maneuver the Gradient Slider into place as shown.

Set Transparency – Set Fill to White

Click on little Radius in the top left, and set the slider to suit your choice.
Check your image
You can see from the above images, that the original image is rather plain and unretouched. After applying a transparent white haze over it, it now presents a rather more mysterious image. The transparency is following the blue horizontal line from the left to the right. Its density is controlled by the slider and options in the little drop-down menu shown above
Let’s tidy up a little.
Even though we already have a gradient effect applied to the images any typography we apply to the cover will still probably get lost in the high contrast of the dark branches and white snow.
Return to the Layers panel and Lock the Image layers.
Time To Put in the Title, Author and Tagline
Click the Create New Layer icon at the bottom right of the panel. Click the default layer name and rename the layer as Front-Cover Artwork.
Select the Ellipse Tool and create an ellipse as shown, the full width of the frame. Position this centrally on the page, using the Guide as a reference position the top of the circle. Of course, you will create an ellipse that suits your own title. As you can see, I have not yet accurately positioned the ellipse within the guidelines.
With the ellipse shape selected, Select Transparency Tool (Wine Glass). Set the Type (upper left) to Radial, Fill to White, and then click on the white ellipse and move the Gradient Stop into position as shown below, so the gradient appears very soft. Adjust to suit your image.
Next Step
Select the ellipse shape and then Edit > Copy, Edit > Paste. It will paste over the top of the first circle – observe in the Layer Panel. Either hold Shift to resize the circle or edit the measurements, resizing the circle to a suitable smaller size, or simply drag it to one side and resize it.
Position this second shape at the top right corner of the page, as shown. We will be layering a tagline over this a little later.
3. Introduce Some Suitable Typography
Step 1
Go to the Layers panel and Select and Lock the Front Cover Artwork layer. Select the Add Layer icon and rename the layer Typography.
Step 2
We want to introduce three parts to the front cover text: the title, the author name, and a tagline. Let’s work on the title first.
First up, let’s select a typeface that’s going to work well on our Winter cover. Look for something that looks dramatic when set in All Caps; a strong sans serif will grab the reader’s attention. Here I’ve chosen Buckwheat TC Sans.
Select the Artistic Text Tool and type ‘Whispering’, set the Font to Buckwheat TC Sans, Size 40 pt, Tracking to 50 % and set the text in All Caps. Position the frame to the top left of the central white circle, at Y position 60 mm, or thereabouts. Set the color to black.
Step 3
Create a second larger text with the Artistic Text Tool. Type ‘Quilts’, set the Font to Buckwheat TC Sans, Size 60 pt, and set the text in All Caps.
Now we are ready to insert the image behind the text of the word QUILTS.
With the text highlighted, go to Layers> Convert To Curves.
With the text highlighted, Set the Colour to No Colour.
The text will become transparent.
In the Layers section, hold the Cmd key and select all the individual letters of the group now making up QUITS, as in this example., the fill set to No Colour. So, in fact, they do not display.
With all layers selected go to top navigator and Layer -> Convert to Picture Frame.

Select Convert To Picture Frame
With all layers converted to Picture Frames, and keeping them all selected, go to File -> Place and find the file you want to use as the background of the text. In this case, I am using an image of quilts, or at least their colours.
Select the image you are going to use, and it will place itself into the text automatically. It may take a moment to happen.
Because the individual letters are converted to Curves first, this allows you to alter the text in any way you wish.
Create any other text frames you need the same way. Add your taglines.
Lock all the layers.

Observe the Layers Panel.

All you have to do now is Export the Image

The final image, suitable for eBooks or Kindle, etc.
Following this tutorial, I will add the full Printed Paperback Cover, and later, the Hardcover. If people want it.
So as you begin to design your cover, remember to keep it simple. The best covers only hint at the story. They don’t tell it on the front cover. Keep your cover true to the genre you are writing in. Spread your text out. For example – QUILTS is too tightly packed. It needs to be spread out.
Your First Cover is like your First Draft of your book.
Feel free to ask questions, leave feedback, positive of course if you would. Like the page or site. Follow me on Twitter and probably Instagram.
The book “Whispering Quilts” will be released about Mid-Winter I believe, by a new author, R.M. Tappin. Watch for the book on Amazon and others.
Feel free to look for my books on Amazon, iBooks, Kobo, LuLu in eBook, Paperback and Hardcover formats.
Criticisms should be accompanied by a case of good wine.
Comments